
How to Make a Colorful Rainbow Bowl from Ribbon
Updated: Jul 29
If you have some ribbon scraps, this tutorial will show you how you can use them to make a colorful decorative bowl with just a few materials.

This was such a fun project. Using grosgrain ribbon adds a lot of texture to the outside of the bowl, while the inside is shiny and glossy.
And once it's done, you can use it as a decorative piece, filling it with colorful balls or the like. You could also use it as a desk organizer. I think it would make a wonderful handmade gift as well.

A balloon
Thick glossy medium (not shown in pic)
Felt circles (optional)
Electrical tape (optional)

Before You Begin
The balloon size determines the bowl width, the bowl depth, and the length of ribbon you'll need, so keep that in mind as you're blowing up your balloon.
Choosing Colors
You can have fun with picking out which color ribbons you want to use. Some ideas are:
Rainbow
Pastel
Monochrome
Holiday
Sports team colors
Ribbon bowl tutorial:
Step 1 - Blow up the balloon and set it in a mug

Again, be mindful of how much you inflate the balloon.
I found that using a Mug was a great place to set up the balloon so the round part stays on top.
Step 2 - Cut the ribbon into strips

This project would be much more difficult if the ribbon were narrower than 5/8 inch. So keep that in mind when you're choosing the ribbon.
After you choose the ribbon and colors, you'll want to cut them into strips. Cut them long enough to go from the top of the balloon down the sides.
Tip: I recommend grosgrain ribbon because its texture helps it grip while drying and adds extra strength. |
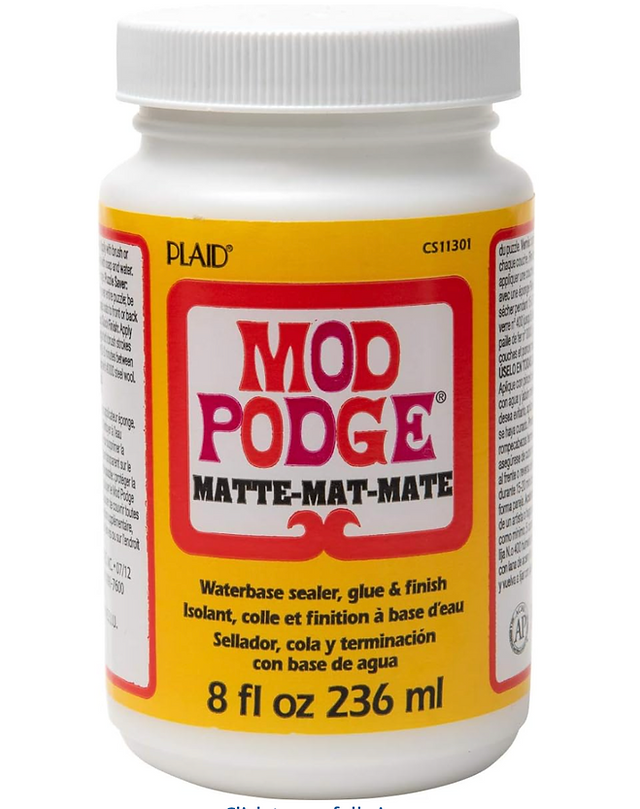
Step 3 - Paint on Mod Podge

Paint along the side of your balloon with Mod Podge all the way from the very top to the middle, or as long as your ribbon is.
So the Mod Podge won't dry, we do one ribbon at a time, so only paint enough Mod Podge for one ribbon.
Tip: Placing plastic wrap over your bowl before adding the ribbon might make it easier to remove the balloon and prevent it from sticking to the ribbon. |
Step 4 - Place your ribbon

Start at the top and lay the ribbon down the side over where you applied the Mod Podge.

And as you add more pieces of ribbon, make sure you overlap them so you won't have gaps in your bowl.

Add your ribbons around the balloon. The last ribbon should overlap both ribbons next to it.
Step 5 - Remove the balloon

Gently use your fingers to detach the balloon around the edges. Slowly inch inward. You will want to try to keep the balloon intact to make it easier to remove.

Once you've got it removed, you might notice that some of the ribbons have come apart from each other. If that happens, just use craft glue to fix it. You'll want to try and not get glue on the outside of the ribbon as much as possible. That way you won't have glue marks.
Step 6 - Cut the edges of the ribbon

Cut off the edges of the ribbon to make it the size you want. When I made mine, after I cut it the first time, I realized it needed to be cut further to make it look better. So you might need to do that as well.

Try to cut it as evenly as possible, but don't kick yourself if it's not perfect.

The inside of your bowl should look like the above.
Step 7 - Paint inside of bowl with glossy medium

I used DecoArt Triple Thick Gloss Medium to paint around the inside of my bowl. So it didn't pull up in the middle so much, I would prop it up on its sides to make the gloss even. I also applied two or three coats to strengthen the bowl.

Step 8 - Add edging (optional)
I felt like my bowl was missing something and that it would look better with an edging around the rim. At first, I tried using black ribbon, but it was pretty awful. The ribbon wasn't working with me.
So instead, I used black electrical tape.

If you decide to go that route, make sure the electrical tape goes on the inside and the other half on the outside of the rim.

I liked how the electrical tape matched the shine of the inside of the bowl.
Tip: If your bowl is lopsided, use a felt circle to adjust the bottom. |

And voila!

Variation ideas
Boho earth tones
One color ombre
Christmas colors
Halloween colors
Pride colors
Metallic ribbons
Ocean-Themed Ribbon Bowl
Pastel Nursery Bowl
Black and White Modern Bowl
Ways to Use Your Ribbon Bowl
Craft room organizer
Candy dish
Key bowl
Potpourri holder
Jewelry holder
Desk organizer
Holiday centerpiece
Fruit display (decorative only)

Common Questions
Can I use satin ribbon?
Yes, you can use satin ribbon, but the finished bowl may not be as sturdy. Grosgrain ribbon has a ribbed texture that helps it grip the adhesive and hold its shape better, making it my top choice for this project.
And because it’s smooth and slippery, it can shift more easily while you’re assembling the bowl, so you may need a little extra patience.
If you’re making your first ribbon bowl, I recommend starting with grosgrain ribbon. Once you’re comfortable with the process, satin ribbon is a fun option for creating a more elegant look. In fact, I plan to make a ribbon bowl using sheer ribbon, but in layers.
How long does it take to dry?
Drying time depends on what step you’re on. When you’re adding the ribbon to the balloon, the Mod Podge or tacky glue doesn’t actually take too long to dry.
However, adding the glossy medium is where it could take some time, especially if you do more than one coat. Each coat may take a day to dry. I suppose it could also depend on the humidity level in your area.
What If My Balloon Sticks to the Bowl?
Don't panic if the balloon doesn't fall away on its own after you pop it—this is a common issue. Small pieces of a balloon can sometimes stick to the dried adhesive inside the bowl.
Start by gently peeling away any loose pieces with your fingers. If some areas are stubborn, use tweezers to carefully lift them away without pulling on the ribbon. Avoid using anything sharp that could damage the bowl or scratch the dried finish.
If tiny bits of balloon remain attached, don't worry. They usually aren't noticeable once the bowl is finished, especially if they're on the inside. Taking your time during this step will help keep your ribbon bowl looking its best.
Can I use fabric strips instead of ribbon?
Fabric scraps would make an awesome bowl. Using cotton scraps would probably be easier since they’d conform to the balloon much better.
Fabric edges may fray, which can add a charming, rustic look or a more artistic, textured finish. If you prefer clean edges, try pinking shears.
And because the fabric is thinner, definitely use coats of gloss medium and probably fabric stiffener as well.


Related Projects:
Or you can check out ALL of my home decor craft projects!
❤️❤️❤️ If you liked this project, please share ❤️❤️❤️


Comments