
How to Make DIY Christmas Ornaments Out of Recycled Matchboxes
- Heather McClelland
- Dec 21, 2022
- 3 min read
Updated: Nov 28, 2024
Get creative this holiday season with a unique Christmas craft project! Learn how to make beautiful matchbox ornaments out of recycled materials.

I love using recycled or repurposed materials in my craft projects. It gives the project added satisfaction compared to using craft store supplies.
See my tutorials for making ornaments from wine corks and inspirational wall art from matchboxes.
Before we move on to the tutorial, you might wonder what other crafty things you can do with matchboxes...
What can you make with a matchbox?

Any other bits and bobs you have
Step 1

Remove the matches and the cover.
All you need for this project is the pull-out box cubby part.
Instead of throwing them away, I put the matches and their covers in a ziplock for whenever I need matches.
Step 2

To cover the inside of the matchbox cubby, outline it on the back of the card stock you want to use. Then, please pick up the cubby and measure the sides around it, as in the picture above.
Step 3

Cut out the card stock along the outline you just made, ensuring you also cut out the corners. Next, fold the flaps around the sides like in the picture.
Step 4

Put the folded card stock into the cubby. It should fit pretty perfectly, though depending on how much room you gave it when measuring it, you might need to trim the sides a little.
Time to decorate the matchbox!
There are so many ways you can decorate the inside of the cubby. I'll show you what I did, but let your imagination run wild. Of course, it will also depend on what supplies you have.
Matchbook 1

Something you should think about utilizing is double-sided foam tape. It will give paper pictures some depth.

I put the double-sided foam tape on the back of a Christmas door picture.

See how it sticks out a little?
How I did the rest of Matchbox 1:
The gift embellishments are puffy stickers that I stacked together.
I made the string of lights using a wire and glued tiny rhinestone stars.
I added a little Glossy Accents by Ranger to only the wreath on the door.
Matchbook 2:

I found a product that's supposed to look like snow, so I used it for this matchbox ornament.

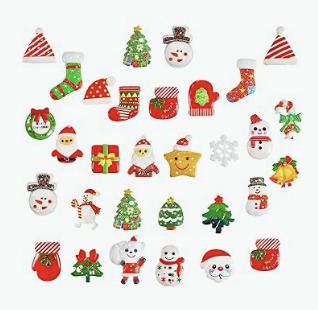
Little plastic Christmas embellishments are great for these ornaments. You can get a lot of them for a low price on Amazon.

How I did the rest of Matchbox 2:
I used little silver vinyl stickers, usually used for nail art, in the background.
On top of the vinyl stickers, I put tiny polymer snowflakes.
Matchbox 3

Another great thing to use for these ornaments is dimensional scrapbook stickers.

How I did the rest of Matchbox 3...
Used another plastic embellishment
folded a pipe cleaner to fit the bottom
Now, we're not done yet. There's the matter of decorating the back of the ornaments.

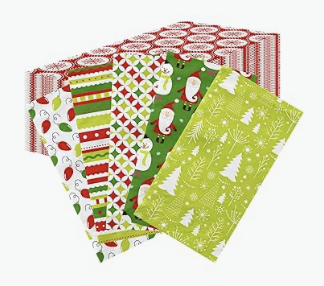
I used Mod Podge and Christmas napkins to cover the backs and sides of two ornaments. Since the napkins are so thin, it's easy to cover the cardboard without cutting other paper.
Here are all three of the backs:

I used napkins for the two on the right, silver paint with a coat of sparkle Mod Podge, and a Christmas sticker for the one on the left.
It was also essential to include the year I made these. I used vinyl number stickers on two of them and puffy paint on the other.

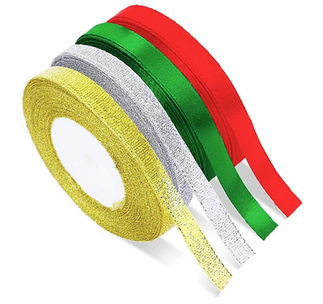
To hang it on the tree, I used a thin, sparkly ribbon and glued it to the top of the matchbook.
All three matchbook ornaments:

One more thing...

I knew that these ornaments might not fare too well, just being thrown in the box with all the other decorations we use when Christmas is over...
So, I filled the matchbox with resin.

Looks great, right?


Now it's your turn! Check your drunk door for matchboxes, and take out your Christmas craft supplies. These are great to give as gifts.
For more DIY ornaments, check out my tutorials for ornaments made with corks, my beaded spiral ornaments, or all my seasonal craft projects.


If you loved the matchbox ornaments, Please share ❤️❤️❤️


Selecting comfortable yet strong bdsm handcuffs ensures safe, enjoyable play. Soft padding protects skin, while sturdy materials guarantee control. Whether leather or metal, the right pair offers both restraint and freedom allowing partners to explore desire confidently and safely.
Sprunki is a vibrant, music-based game that has captured the attention of players worldwide with its unique blend of creativity, rhythm, and quirky charm.